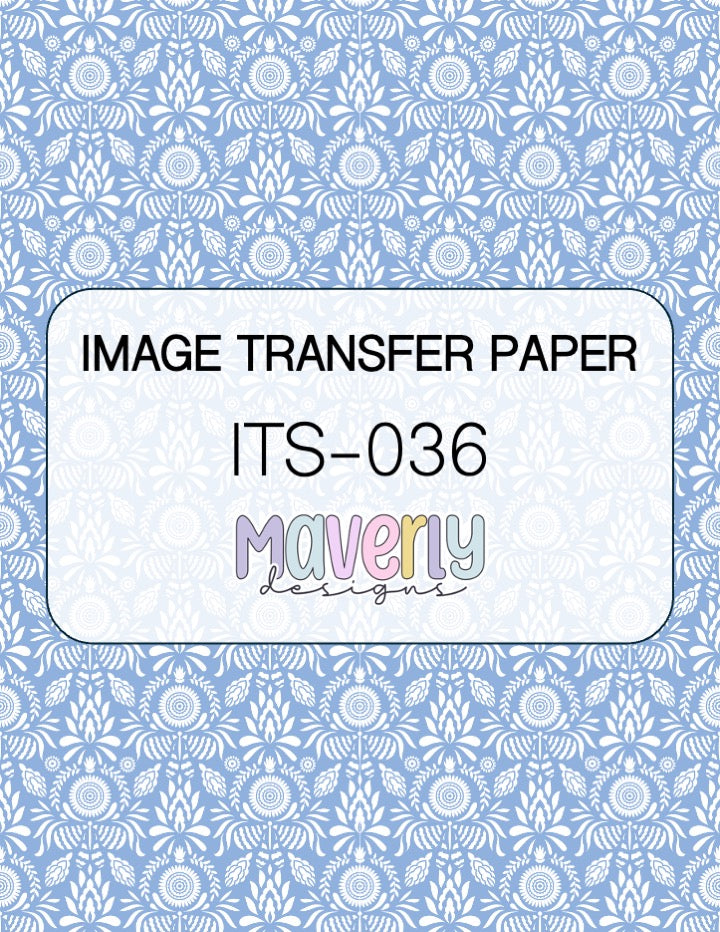
ITS-036 - IMAGE TRANSFER PAPER (F30)
ITS-036 - IMAGE TRANSFER PAPER (F30)
Couldn't load pickup availability
SIZE ~ 4 in x 5 in
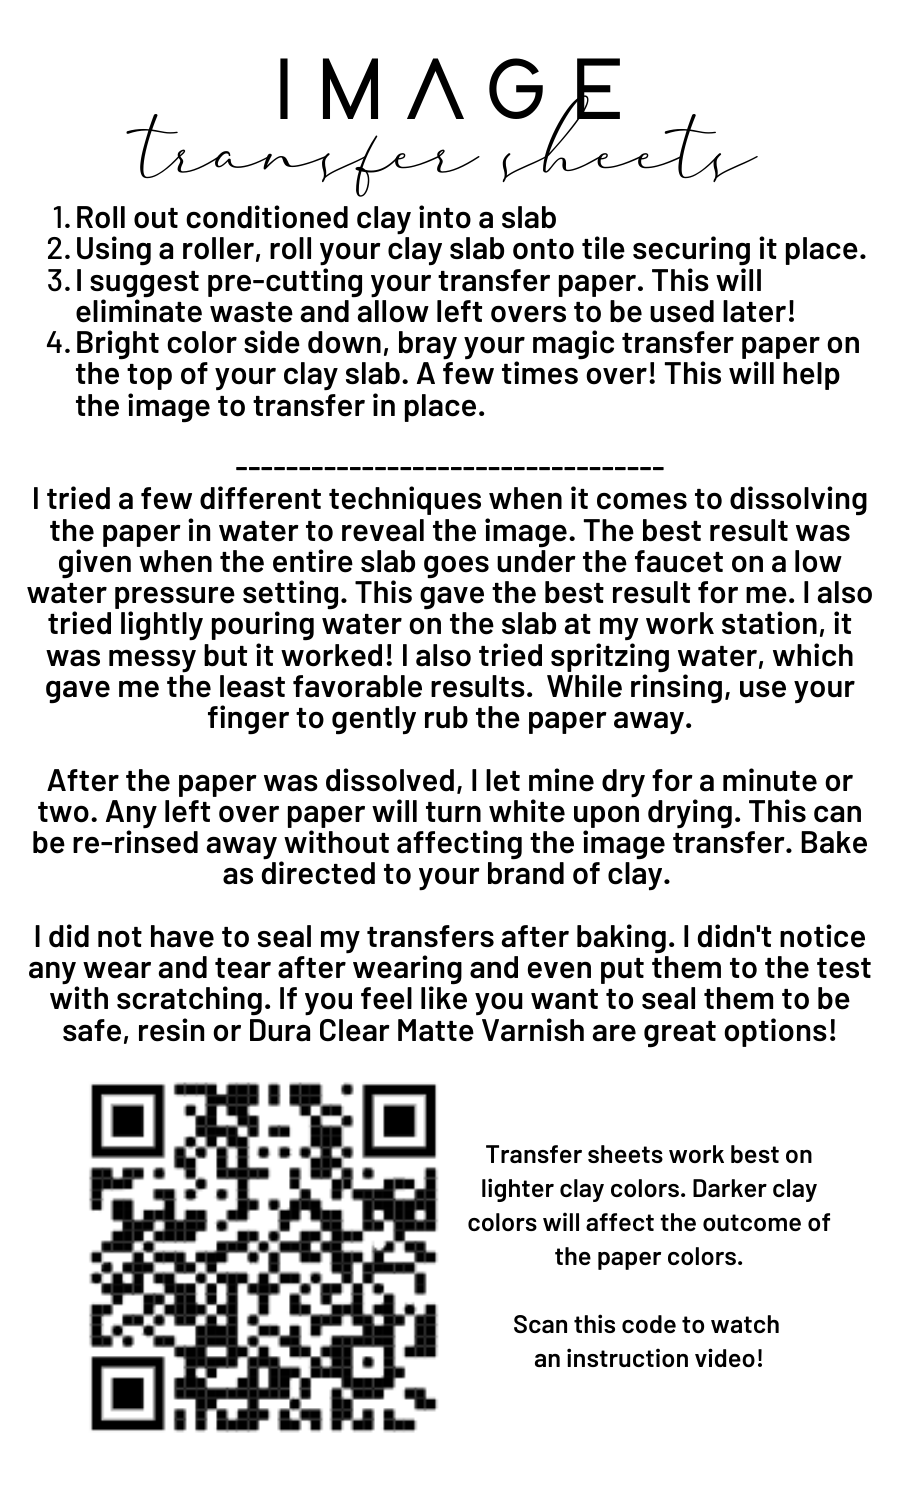
• Roll out conditioned clay into a slab
• Using a roller, roll your clay slab onto tile securing it place.
• I suggest pre-cutting your transfer paper. This will eliminate waste and allow left overs to be used later!
• Bright color side down, bray your magic transfer paper on the top of your clay slab. A few times over! This will help the image to transfer in place.
FOR BEST RESULTS - USE ON LIGHT COLOR CLAY
-------APPLICATION--------
I tried a few different techniques when it comes to dissolving the paper in water to reveal the image. The best result was given when the entire slab goes under the faucet on a low water pressure setting. This gave the best result for me. I also tried lightly pouring water on the slab at my work station, it was messy but it worked! I also tried spritzing water, which gave me the least favorable results. While rinsing, use your finger to gently rub the paper away.
After the paper was dissolved, I let mine dry for a minute or two. Any left over paper will turn white upon drying. This can be re-rinsed away without affecting the image transfer. Bake as directed to your brand of clay.
After baking, it would be in your best interest to seal the image with your choice of sealant. I rinsed my baked pieces under water and scrubbed them to test the durability and it did not ruin the image. But to be safe, I would look into sealing it. Resin, polyurethane, and even sculpey has some great sealing options!
If you have any questions regarding this technique, please reach out!
maverlydesigns@gmail.com
• Roll out conditioned clay into a slab
• Using a roller, roll your clay slab onto tile securing it place.
• I suggest pre-cutting your transfer paper. This will eliminate waste and allow left overs to be used later!
• Bright color side down, bray your magic transfer paper on the top of your clay slab. A few times over! This will help the image to transfer in place.
I tried a few different techniques when it comes to dissolving the paper in water to reveal the image. The best result was given when the entire slab goes under the faucet on a low water pressure setting. This gave the best result for me. I also tried lightly pouring water on the slab at my work station, it was messy but it worked! I also tried spritzing water, which gave me the least favorable results. While rinsing, use your finger to gently rub the paper away.
After the paper was dissolved, I let mine dry for a minute or two. Any left over paper will turn white upon drying. This can be re-rinsed away without affecting the image transfer. Bake as directed to your brand of clay.
After baking, it would be in your best interest to seal the image with your choice of sealant. I rinsed my baked pieces under water and scrubbed them to test the durability and it did not ruin the image. But to be safe, I would look into sealing it. Resin, polyurethane, and even sculpey has some great sealing options!
If you have any questions regarding this technique, please reach out!
maverlydesigns@gmail.com
Shipping & Returns
Shipping & Returns

Don't miss out on what is new!
-
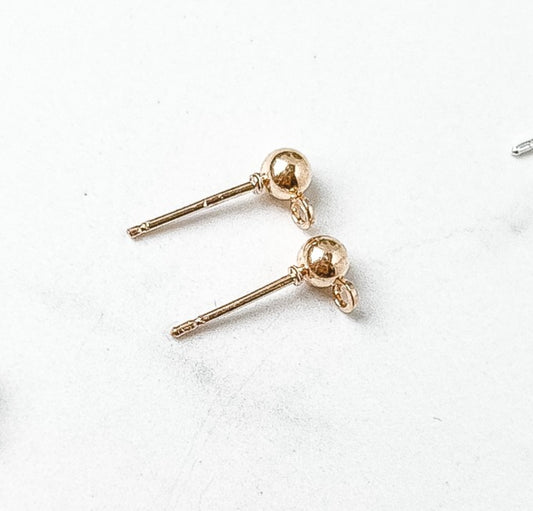
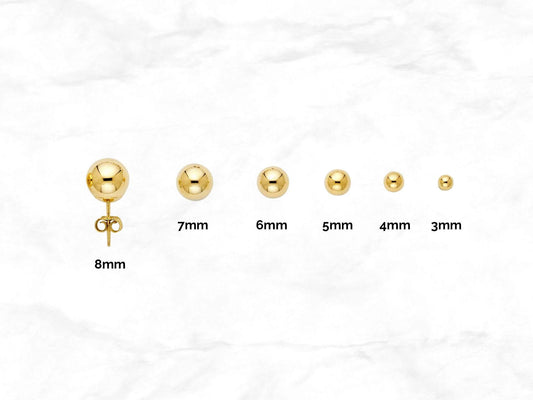
3-6mm Ball Posts - 20 PIECES
Regular price £2.00 GBPRegular priceUnit price per£0.00 GBPSale price £2.00 GBP -
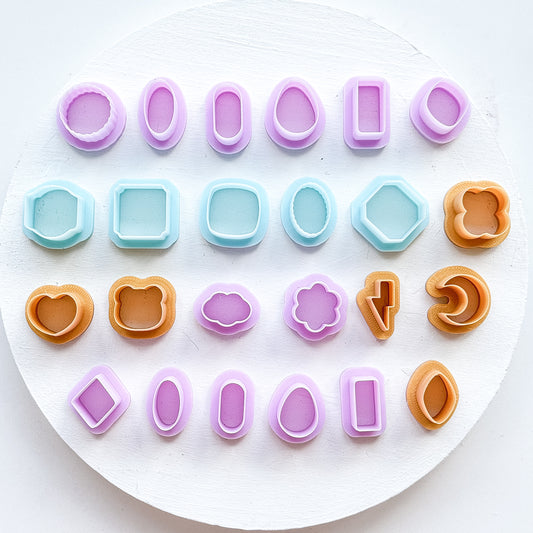
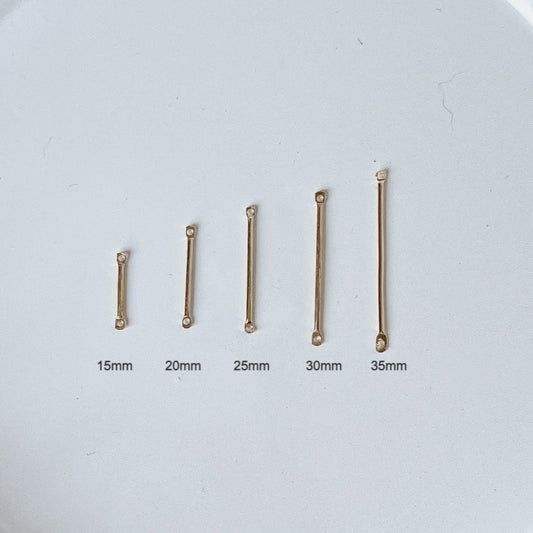
Charm Bar Clay Cutter Set - July 2025 Launch
Regular price From £3.00 GBPRegular priceUnit price per -
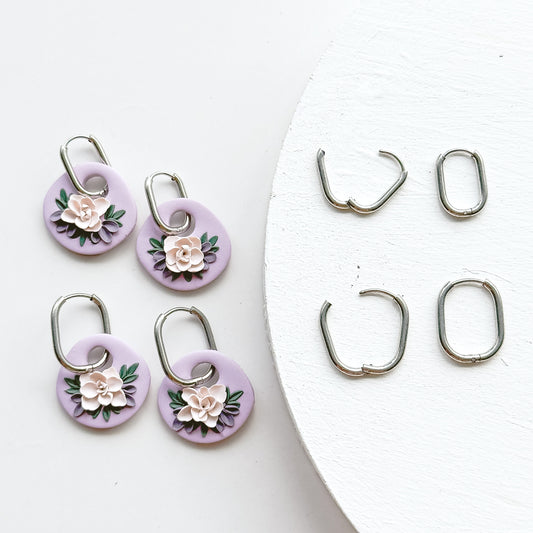
Oval Click Hoop - 10 PIECES - July 2025 Launch
Regular price From £7.00 GBPRegular priceUnit price per£0.00 GBPSale price From £7.00 GBP -
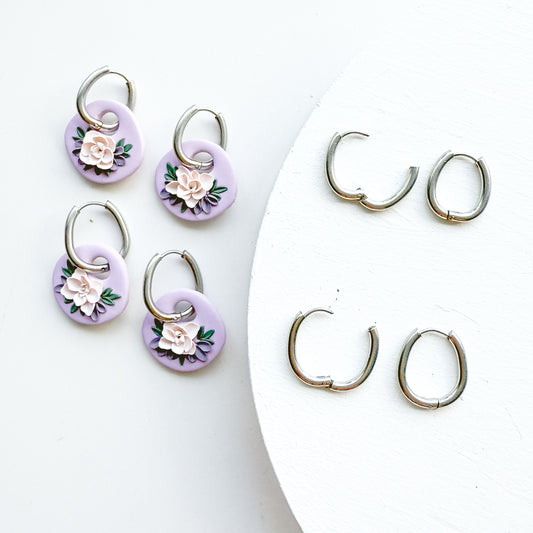
Round Teardrop Click Hoop - 10 PIECES - July 2025 Launch
Regular price £8.00 GBPRegular priceUnit price per£0.00 GBPSale price £8.00 GBP
